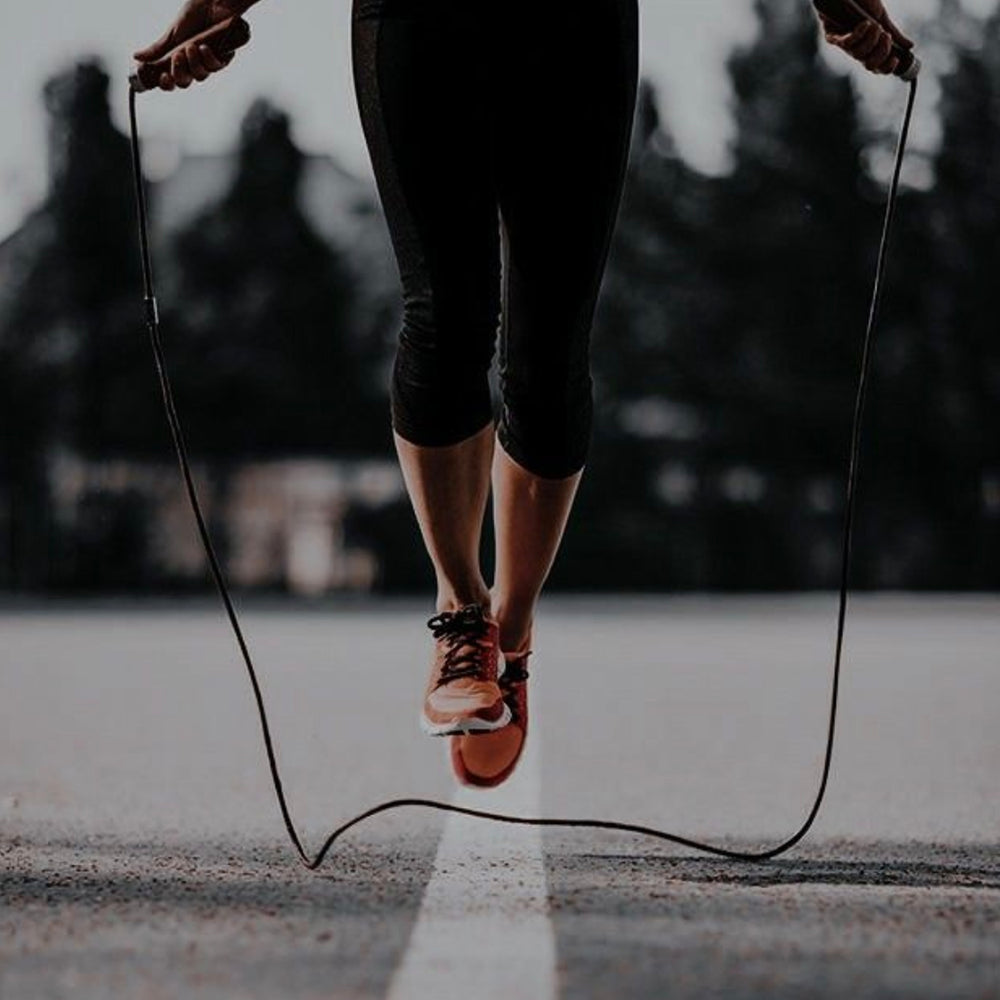
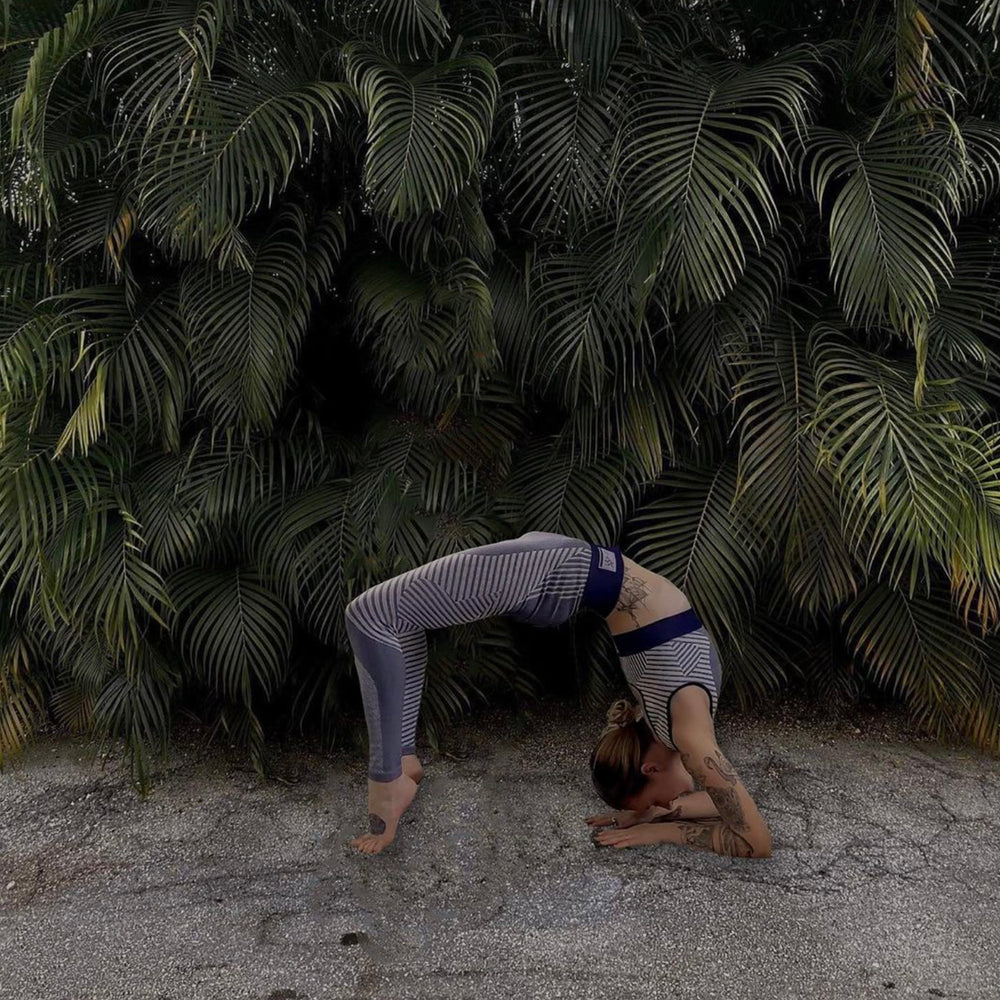
Understanding the Hollowback Pose The Hollowback, also known as "Hollowback Handstand," is a variation of the traditional Handstand (Adho Mukha Vrksasana). In this pose, the practitioner balances on their hands while arching their back and extending the legs overhead, creating a graceful, semi-circular shape with the body. The term "Hollowback" refers to the concave curve formed by the back in this pose. The Hollowback pose offers a unique combination of strength, flexibility, and balance challenges, making it a coveted goal for many yogis. While it may appear intimidating, breaking it down into manageable steps and building the necessary foundation can help beginners approach it with confidence and safety. Physical Benefits of the Hollowback Pose Practicing the Hollowback pose provides various physical benefits, including: 1. Strengthens the Upper Body:** Holding the Hollowback requires significant upper body strength, particularly in the shoulders, arms, and core muscles. 2. Enhances Spinal Flexibility:** The backbend component of the pose promotes spinal flexibility, helping to alleviate stiffness and tension in the back. 3. Improves Balance:** Achieving balance in the Hollowback challenges your stability and proprioception, enhancing your overall sense of balance. 4. Increases Body Awareness:** Practicing this pose heightens body awareness as you focus on alignment, balance, and the sensations in your body. Mental Benefits of the Hollowback Pose In addition to the physical advantages, the Hollowback pose also offers mental benefits: 1. Boosts Confidence:** Conquering a challenging pose like the Hollowback can boost your self-confidence and provide a sense of accomplishment. 2. Enhances Concentration:** To maintain balance in this pose, you must concentrate deeply on your alignment and breath, which can help improve your overall focus and concentration. 3. Promotes Mindfulness:** The Hollowback encourages mindfulness as you tune into the sensations in your body and stay present in the moment. Building the Foundation: Preparatory Poses Before attempting the Hollowback pose, it's essential to build a strong foundation by practicing preparatory poses that improve your strength, flexibility, and body awareness. Here are some key poses to incorporate into your routine: 1. Downward-Facing Dog (Adho Mukha Svanasana): Downward-Facing Dog is an excellent pose to warm up and stretch the shoulders, hamstrings, and back. It also helps prepare the wrists for weight-bearing poses. 2. Dolphin Pose (Ardha Pincha Mayurasana): Dolphin Pose is similar to Downward-Facing Dog but with your forearms on the mat. It strengthens the arms and shoulders while encouraging greater flexibility in the upper back. 3. Puppy Pose (Uttana Shishosana): Puppy Pose is a gentle backbend that stretches the spine, shoulders, and chest. It's an effective way to open the upper back and shoulders. 4. Bridge Pose (Setu Bandha Sarvangasana): Bridge Pose strengthens the legs, core, and glutes while gently stretching the spine. It also helps prepare the back for the backbend element of the Hollowback. 5. Camel Pose (Ustrasana): Camel Pose is a more intense backbend that further enhances spinal flexibility and stretches the front of the body, including the chest and hip flexors. 6. Handstand (Adho Mukha Vrksasana): Practicing Handstand is essential to build the strength and confidence needed for the Hollowback. Start by practicing against a wall to develop your balance and comfort in an inverted position. Steps to Achieve Balance in the Hollowback Pose Now that you've prepared your body with the foundational poses, let's explore the steps to achieve balance in the Hollowback pose: 1. Warm-Up: Begin your practice with a thorough warm-up, including stretching and strengthening exercises for the shoulders, arms, and back. 2. Set Up Your Mat: Place your yoga mat against a wall to provide support and safety during your Hollowback practice. 3. Start in Downward-Facing Dog: Begin in Downward-Facing Dog, with your hands shoulder-width apart and your feet hip-width apart. Ensure that your alignment is correct, with your wrists under your shoulders and your hips over your heels. 4. Transition to Dolphin Pose: From Downward-Facing Dog, lower your forearms to the mat, maintaining the same shoulder-width distance between your hands. This is the starting position for Dolphin Pose. 5. Walk Your Feet In: Walk your feet closer to your elbows, allowing your hips to lift toward the ceiling. Aim to create a straight line from your wrists to your hips. 6. Engage Your Core: Activate your core muscles to support your lower back and maintain stability in the pose. 7. Shift Your Weight Forward: Slowly shift your weight forward and bring your head and chest closer to the mat, creating a concave shape in your upper back. 8. Find Balance: As you shift your weight forward, engage your core and legs to help you find balance in the Hollowback. Focus on maintaining a strong foundation through your forearms and shoulders. 9. Lift One Leg: Once you feel stable in the pose |